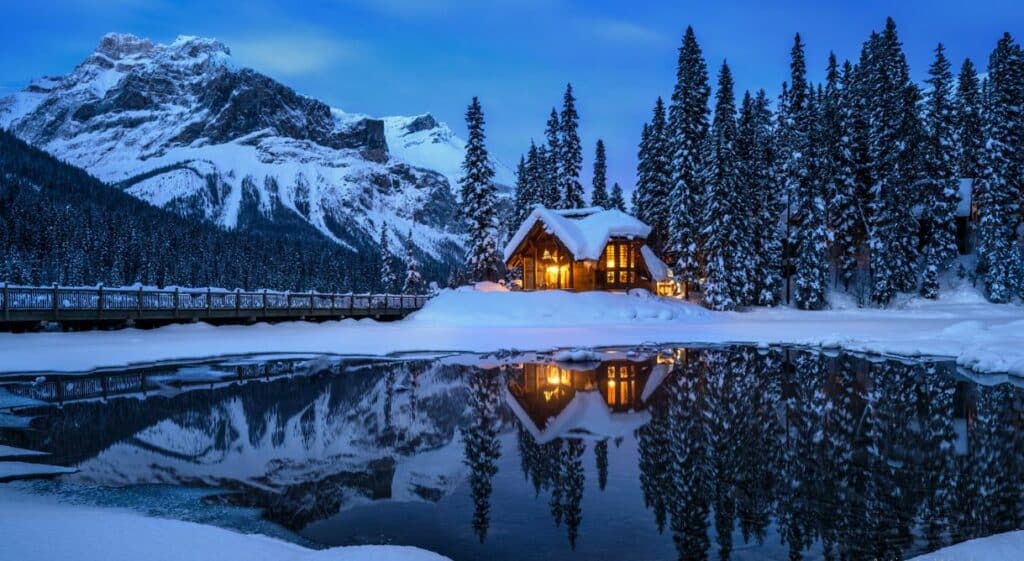
Photographers often encounter challenges when shooting in low-light conditions, whether it’s at night or indoors with minimal illumination. However, they don’t let these obstacles deter them from capturing captivating images. Instead, they rely on their creativity and a repertoire of Low-Light Photography Tips to achieve stunning results even in challenging lighting situations.
By mastering techniques such as adjusting camera settings, utilizing available light sources strategically, and employing long exposure or tripod methods, photographers can unlock the potential for extraordinary shots, turning dimly lit scenes into visually compelling masterpieces.
They’d like to show how they’re feeling and what their mood is like. One great trick is to use the light that’s already there, like bulbs or candles. Photographers sometimes bring extra lights to make things shine brighter and look better. People who take pictures should also learn how to use their gear at night! They need to make some changes to the shot to make it look good.
Making changes to a magic box to get the best picture is like that. Things need to be changed from time to time so the photo isn’t too dark or fuzzy. Photographers can take great shots even when it’s not very bright outside if they know what to do and how to set the camera.
Read More: Best 10 Essential Tips for Black and White Photography
What is Low-Light Photography?
When it’s dark or not very bright, you can take shots with low light. This could happen at night, inside a house, or when the sun is almost down. Things can look a little fuzzy and not very clear when it’s dark. To make pictures look good, people who take them have to do certain things.
People use different lights and change the settings on their cameras to make sure there is enough light for the pictures. It’s possible that they will use a lens that lets in more light or add extra lights like LED or flash lights. To get great nighttime photo, learn how to use your camera and be creative.
List of 10 Best Low-Light Photography Tips
To get clear, colorful pictures in low light, you have to think carefully about the settings and methods you use. Use a wide aperture to let more light in, slowly raise the ISO sensitivity to keep noise to a minimum, steady your camera on a tripod or a flat surface, and try long shots for striking results when lighting is bad. below we will mentioned 10 Best Low-Light Photography Tips
Use a Wide Aperture

If you want to take a picture outside at night, a big hole in the camera will help the picture look better. The hole is like opening your eyes wide to see better in the dark. The camera is like your eyes.
For shots that look better and brighter, even when it’s not very bright outside, this big hole is helpful. Also, if you make the hole even bigger, you can hide some parts of the picture while making others look very clear. This can make your photos look really cool!
Use Manual Focus

Autofocus systems may have difficulty effectively locking onto subjects when there is a lack of available light, which can result in photographs that are fuzzy and miss the focus. It is recommended that you switch to manual focus and make adjustments to the focus on your own in order to overcome this difficulty.
A great number of contemporary cameras come equipped with focus peaking or magnification features that are designed to facilitate manual focusing. These features make it simpler to attain sharp and exact focus, even while working in low-light conditions.
Shoot in RAW Format

It is very helpful to use RAW format when taking shots at night. It’s like being able to fix your shots later with superpowers. You can change things like lighting and colour without making the picture look bad with RAW files because they keep all the picture information safe. They also protect more parts of your picture. It takes more time and space for them to work, but they really help make dark pictures look great!
Keeping your images sharp

If it’s not very bright outside when you take pictures with your camera, the photos might not look clear. So that there is more light, you take the picture slowly. What you need is an aperture that is bigger. This lets more light in, which lets you take the shot faster. This is useful information because it helps you take quick shots that don’t blur things. You can use a speed of 1/50 second to take a picture of something that isn’t moving much, like a toy.
You should go faster, maybe 1/250 second, if you want to take a picture of someone walking. Things that are going very quickly, like a race car, need to be shot at even faster speeds, like 1/1000 second or even faster. You have to make your camera go even faster when it’s not bright outside so that the picture is clear.
Lighting effects

You can make night photos more interesting by adding light tracks. These can be made from the tail lights of moving cars or neon-lit amusement park rides. Long exposure means shutter speeds of a few seconds or more with the camera on a stand or a stable surface.
For self-timer or remote capture, make sure the camera doesn’t shake when you press the shoot button. Many Canon cameras with Wi-Fi can be controlled by the Canon Camera Connect app on your phone. This app lets you change settings and press the shutter button. If you want to download this app, than you can visit google play store.
Adjust the White Balance

It might not look good to take pictures at night. They might not have enough colour or be too bright. You can fix this, though! There’s a setting on your camera called “white balance.” It tells your camera what colours to use when taking shots.
You tell your camera how to see colours right when you change the white balance. You need to change the white balance to match the light where you are. This is because different lights make colours look different. After that, your shots will look great!
Experiment and Practise

At first, it might be hard to learn how to take pictures at night, but it’s possible to get better! Pick things that won’t move, like toys or flowers, to start. Keep these tips in mind: keep your camera steady and try out different settings.
Don’t worry if your shots are fuzzy. Change the setting and try again. It will not be long before you can take great shots even when it’s dark outside. Your pictures will look great even without a bright light!
Reduce Camera Shake

When you want to take a picture at night or while something is moving, your camera has to be very still. Try to picture drawing a straight line while not shaking your hand. If you move the camera, the picture will be fuzzy. A tripod is a type of stand that can help you keep the camera still. It’s like a camera table. A timer lets you take pictures without touching the camera.
There’s a magic trick in some cameras called stabilization for this. Even if your hands shake a little, it helps the camera stay still. Picture Stabilization or SteadyShot INSIDE are some of the names that different brands use for it. It is like having a friend inside your camera that makes sure the pictures you take are clear.
Use a Fast Lens

A certain lens can make your pictures look much better when it’s dark outside and you want to take them. A fast lens is the name for this type of lens. A big hole in it lets a lot of light into the camera.
It takes better shots with this light, so they don’t look fuzzy at night. Even when it’s not very bright outside, you can take shots faster because it picks up light quickly. Using a fast lens can make your pictures taken at night look really cool and clear.
Experiment with Long Exposures

Taking pictures in the dark with a special camera trick can make them look amazing! You can make cool effects like shiny lines or smooth water. To do this, you need to make the camera’s eye stay open longer, like when you blink slowly.
Also, it’s important to keep the camera still, like when you’re trying not to wiggle. If you want to take pictures of stars moving at night or cars zooming on the road, you can try different times for the camera’s eye to stay open. It’s fun to try, whether you want to take pictures of anything!
Bonus: Use a Tripod
The use of a tripod is one of the most easy and actual methods for maintaining the stability of your camera in low-light situations while you are taking photographs of stationary subjects. Using a tripod reduces the amount of times you need to adjust the ISO setting.
For instance, if you are shooting a photograph of a cityscape at night when there is not much light, you can keep the ISO at 100 and lengthen the exposure time in order to get a beautiful snap. While there are tripods available for every price range and purpose, the majority of photographers do not require a significant amount of money to achieve satisfactory results.
Read More: The Best 10 Photography YouTube Channels for Learning
Final Words
To get good at low-light photos, you need to know a lot about the subject, be creative, and be patient. By using these 12 tips and trying out different methods, you can get better at taking pictures in low light and get pictures that really stand out. Taking on the challenges of low-light photography can pay off in a big way, whether you’re shooting inside, at dusk, or under the stars.
So get your camera, go out at night, and show off your creativity! Thank you for reading this article. If you found these tips useful, please share it with your friends and other photographers on Facebook and X (twitter). Have fun shooting!
FAQs
How can I reduce noise in low-light photos?
To get rid of as much digital noise as possible in low-light pictures, try using lower ISO settings and noise reduction tools after the fact. Taking multiple shots and blending them together can also help lower noise in your photos while keeping the details.
How can I capture sharp handheld photos in low light?
To capture sharp handheld photos in low light, use a combination of techniques such as increasing ISO sensitivity, using image stabilization, and practicing proper handholding techniques. Additionally, consider using faster lenses and optimizing your camera settings for the best possible results.
What is the best lens for low-light photography?
For low-light photos, prime lenses with wide apertures (like f/1.8 or f/1.4) are often better because they can gather more light. But the best lens for you will depend on what you want to shoot and how you like to shoot.


